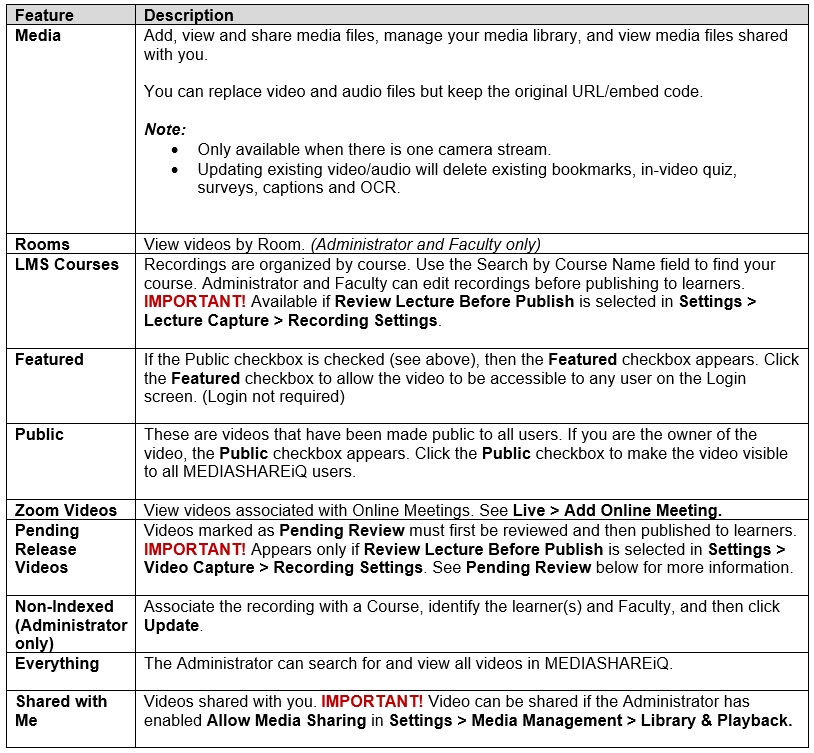
Click Library to manage:
- Multimedia files
- Room recordings
- LMS Course recordings

Keyword Search
IMPORTANT! Click Library, select a folder on the left, click the Search icon, and then click the drop-down to search by the following:
- All
- Media Information
- Transcription
- Topic
- Comments
- Bookmarks
Filter
Click the Filter icon to:
- Filter by Date, Duration, Name or Rating (sort the list in Ascending or Descending order).
- Filter by All videos, Last 7 days, Last 30 Days, or by a specific date range.
- Filter by All Courses or a specific course.
- Click the Everything folder ( Administrator only) to filter by a specific faculty member.
- Click any Room or LMS folder to filter by Activity.
Search LMS Courses
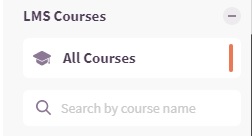
Click LMS Courses > Search by course name.
Search Features – Search within a specific video

Click any video and then search by keywords within the selected video to go to that keyword in the recording.
Grid View

Click the Grid View icon to view folder contents in a table format.
Box View

Click the Box View icon to view folder contents in a more condensed view
List View

Click the List View icon to:
- View folder contents in a table format
- Delete multiple videos at once:
- Click Library or Debrief.
- Click the List View icon.
- Click the checkbox next to the recordings you want to delete.
- Click Bulk Action and then click Delete Selected.
- Request transcription for multiple videos at once:
- Click Library or Debrief.
- Click the List View icon.
- Click the checkbox next to the recordings you want to transcribe.
- Click Bulk Action and then click Request Transcription.
Create and Manage Folders
To create and manage folders to organize your Media Library:
Click Settings > Media Management > Folders > Add New Folder.
Name the folder and then click Save. The folders appear in Library > Media.
OR
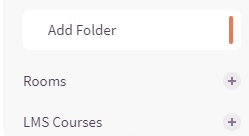
Click Library > Media > Add Folder
OR

Click Library > Media > Add Folder
Add New Media

- Click Library > Add New Mediato upload video, audio, media links, and document files to your media library or course library.
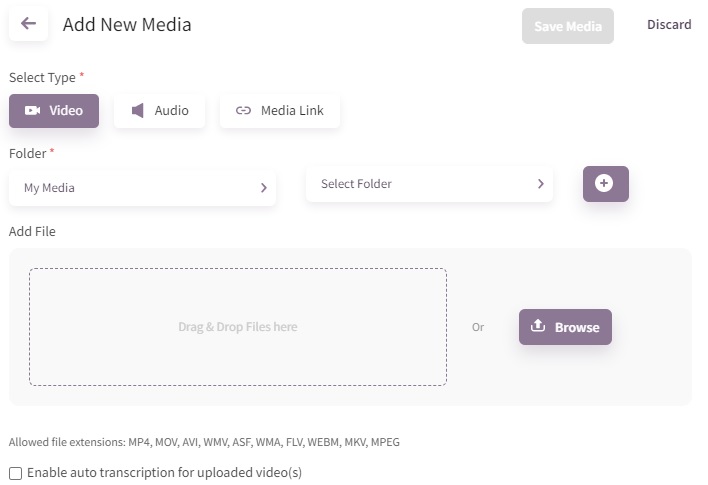
2. Click the transcription checkbox to enable transcription for the uploaded video.
IMPORTANT!
- When the upload is in progress, do not refresh or close the page.
- Do not refresh the browser during upload. It will terminate the upload process and media will not be uploaded.
Note:
- You can replace video and audio files but keep the original URL/embed code:
- Only
available when there is one camera stream.
- Updating existing video/audio will delete existing bookmarks, in-video quiz, surveys, captions and OCR.
- See Create & Manage Folders for more information about creating folders to organize your media files.
- A CC (closed caption) icon appears next to recordings that have been transcribed. Click Library or Debrief. The CC (closed caption) icon appears in the Action column.
Pending Release Video (Administrator and Faculty only)
Videos marked as Pending Review must first be reviewed and then published to learners. IMPORTANT! Appears only if Review Lecture Before Publish is selected in Settings > Video Capture > Recording Settings.

- Click Library > Media > Pending Release Videos. Click Edit next to the video pending review.
- To edit the information associated with the video, click Library and then click the Edit icon. Note: Or click Play and then click
Edit Details

To edit the information associated with the video, click Library > Edit.

From the General Info tab, edit video details, add Tags to make searching for the video easier (optional), and then click Save.
Thumbnail
- Click Library > Edit > Thumbnail.
- Either select a frame from the video or upload an image to appear as the thumbnail view for the video. Note: .png, .jpeg, .jpg files only.
Related Documents
- Click Library > Edit > Related Documents.
- From the Related Documents tab, attach .pdf, .docx, .xlsx, .jpeg, .jpg, .png files with the video (optional).
Captions
- Click Library > Edit > Captions.
- Upload a Closed Caption file (.vtt file) and then click Save.
Edit Transcription (additional cost feature)
As an additional cost feature, recordings can be captioned automatically for greater accessibility. The transcript can be edited and learners can search the text by keywords.
- Click Library > Edit .
- Review and edit text while viewing the video and then click Save.
View Transcription
If the recording has been transcribed, click the Closed Caption icon at the bottom of the video.
Access & Share

IMPORTANT! Video can be shared if the Administrator has enabled Allow Media Sharing in Settings > Video Management > Library and Playback.
MEDIASHARE enables the password-protected distribution of video content.
- Click Library > Edit > Access & Share.
- From the Access & Share tab:

3. Click Share. Shared videos appear in Library > Shared with Me.
Edit in Video Editor
Use the video editing tool to clip or create a series of clips of the lecture before publishing to learners.
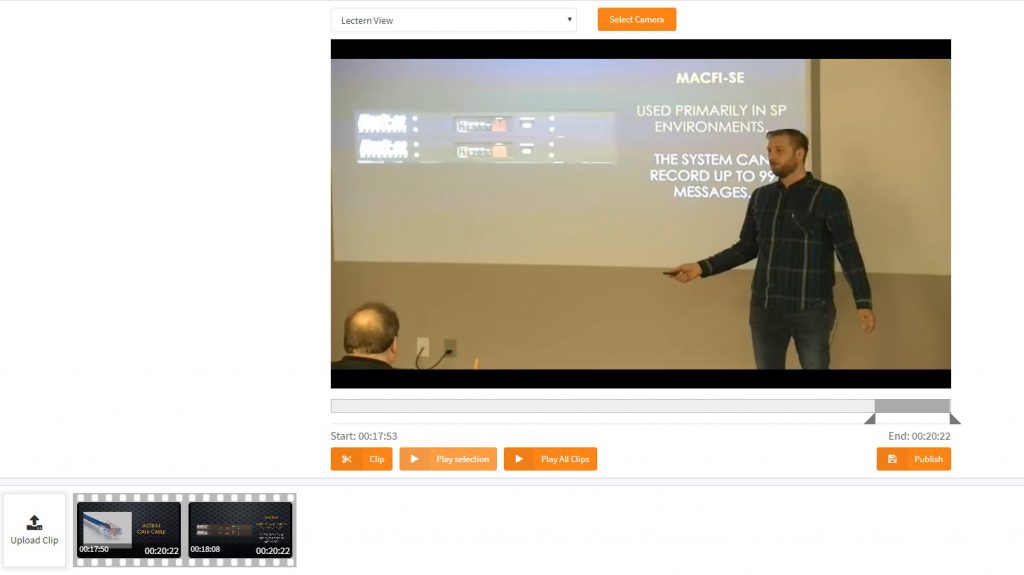
- Click Library > Edit > Video Editor.
- Use the left slider button to set the beginning of the clip and then use the right slider button to set the end point of the clip.
- Click Clip to create a clip from the overall video file. Click Play Selection to view the clipped video.
- You can create multiple clips from the video that can be played together as one file. The clip(s) appears at the bottom of the screen.
- Hover your mouse over the clips to change the order of the clips or delete and add more clips.
- Click Play All Clips to view the edited video.
- Click Publish to make the video available to Learners.
Resolutions
If the Administrator has enabled in Settings > Video Management > Video Transcoding to set additional video resolutions for optimal viewing (Administrator only):
- Click Library >Edit .
- Click Resolutions to view the video resolution, format, bitrate, video dimensions, size and status.
- Click the Action icons to preview, download, convert, or delete a specific resolution.
Playback Video
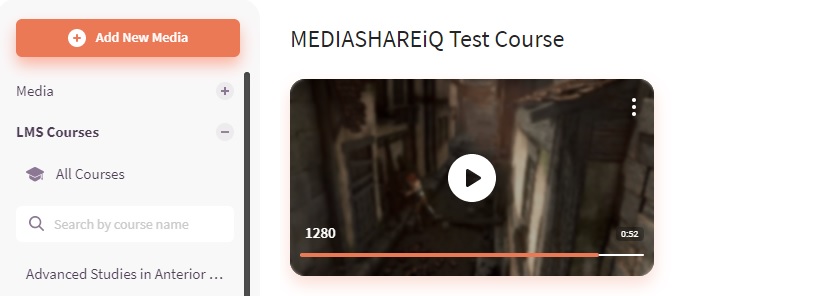
Click Library, select Media or LMS Courses, select the folder, and then click the Play icon.
Add Question, Quiz & Survey (Administrator & Faculty only)

- Click Library and then select the Video.
- Use the slider bar to advance the video to the point where you want to insert the question, quiz or survey and then click Question, Quiz or Survey.
- Either post an existing survey or click Add New Quiz or Add New Survey to add a new quiz or survey.
- Click Add New Question to add quiz or survey questions.
- The Question, Quiz and/or Survey will pop-up for the learner and completion will be mandatory.
Mark Video Public or Featured
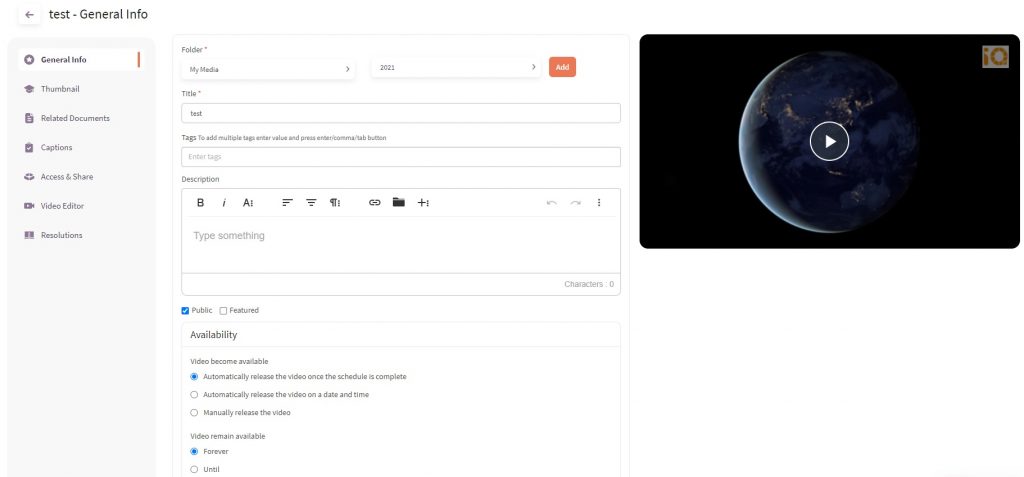
- Click Library and then select the Video.
- If you are the owner of the video, the Public checkbox appears. Click the Public checkbox to make the video visible to all MEDIASHARE users.
- If the Public checkbox is checked (see above), then the Show on Landing Page checkbox appears. Click this checkbox to allow the video to appear in the “What’s New” area on the landing page.
- If the Public checkbox is checked, then the Featured checkbox appears. Click the Featured checkbox to allow the video to be accessible to any user on the Login screen. (Login not required)
Play Audio

- Click Library and then select the Video.
- Click Audio to switch to audio-only mode.
Camera Views
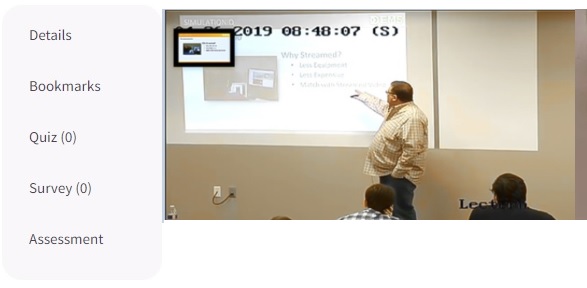
For LMS Course videos, click the camera views and the video windows to toggle between camera views, such as the presenter view or the presentation view.
IMPORTANT! Camera views appear depending on the viewing profiles enabled by the Administrator in Settings > Lecture Capture > Recording Settings and on the configuration of the available cameras within the room the lecture is recorded. See Settings for more information.
Video Tabs
Details
Displays the name of the video, video folder, number of plays, edit features, and ability to rate the video (if the Administrator has enabled Allow Media Rating in Settings > Media Management > Library & Playback).
Bookmarks
- Add and reply with pre-defined bookmarks and comments (See Settings > Bookmarks > Add Bookmark).
- Record video and audio clips, add and reply to comments (IMPORTANT! You must allow camera and microphone access).
- Upload multimedia files, either new or from your multimedia library.
To mark bookmarks as private, click the lock icon. Private bookmarks can also be made public.
Note:
- Old bookmarks will be marked as Public – only newly created bookmarks can be marked as private.
- Bookmark search results will only display public bookmarks and private bookmarks for the logged in user.
Content
View video transcription content if enabled and available.
Quiz/Survey
Indicates if there is a quiz or survey associated with the video.
Indexing
Click to add/update the following:
- Activity
- Course
- Cohort
- Learners
- Faculty
- Tags
Assessment
Complete an assessment while reviewing the video. See Assessments for more information.
Download Video
IMPORTANT! Video can be downloaded if the Administrator has enabled Allow Media Download in Settings > Media Management > Library.
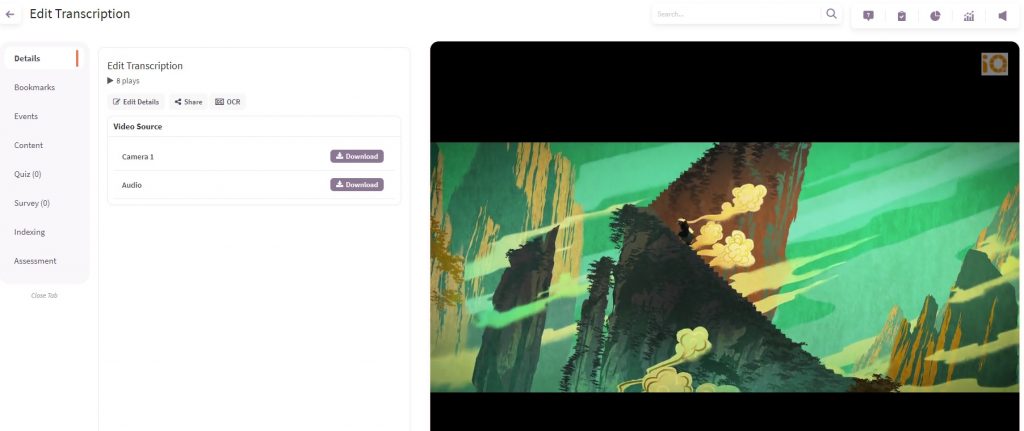
- To download video, click Libraryand then click Play for the video you want to download.
- Click Download to view the complete video for the selected video source.
- Click menu at the bottom of the screen and then click Download to download the file.
- Click Show in Folder and then save the file.
In-Video Analytics (Administrator & Faculty)
In-video analytics appear for the Administrator and Faculty for LMS Courseand My Media videos.
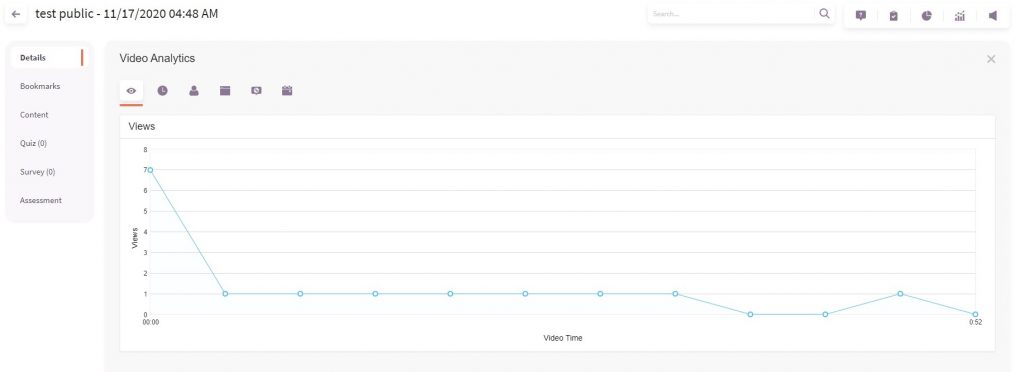
- Click Libraryand then click Media or LMS Courses.
- Click the video you want to view.
- Click Analytics to view the following:
- Video Session Views
- User Views by Minute
- User View Count
- Views by Browser
- Views by Operating System
- Views by Date
- Bookmark Count
- Bookmark Detail: view All or specific bookmarks (General, Important, Interesting, Unclear) and the video time the bookmark occurred
See Analytics for more information.
