Introduction

Use the MEDIASHARE Online Course module for collaborative course planning and content development to deliver SCORM content and Didactic course content to learners online. Contact EMS for more information.
The online course feature includes a template to help you:
- Outline the topics for your online course.
- Structure your learning objectives.
- Add multimedia items, course assignments, quizzes and surveys to create an interactive online learning experience.
- Publish an engaging and effective online course that motivates your learners to meet the learning objectives for the online course.
- Develop assessment metrics to track both learner progress and course effectiveness.
Settings (Administrator & Faculty only)

Click Settings > Online Courses to create the following for online course creation:
| Categories | Add and manage categories to organize your Didactic Content. |
| Roles | Add and manage roles to assign to team members in for a team-based online course assignment. |
| Teams | Add and manage teams for team-based online course assignments. |
| Video Markers | Add and manage abbreviations to allow all administrators and faculty to use standard video markers to mark specific points in video. |
Scheduling (Administrator & Faculty only)
Add Schedule
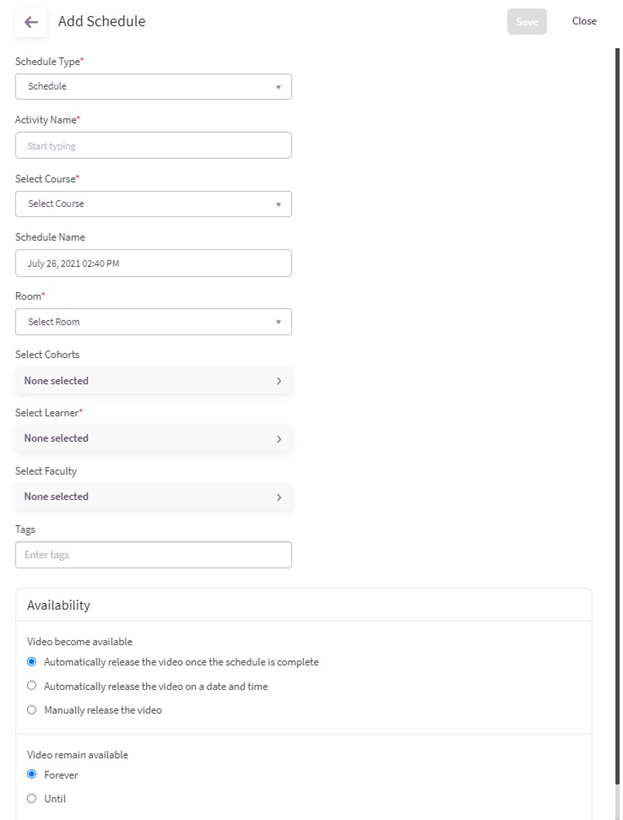
- Click Schedule > Add Schedule to schedule a recording.
- In the Schedule Type field, select Online Class.
- Add the Activity Name and Course.
- Select the Room and then add the Start Date, Time and Duration for the recording.
- Click Create Recurring Session to schedule Daily, Weekly, or Monthly recordings. Note: A recurring icon appears next to recurring schedules on the Schedules landing page. The system sends a single email for all recurring schedules.
- Select the Cohort or specific Learners.
Copy host/participant links (Administrator & Faculty only)
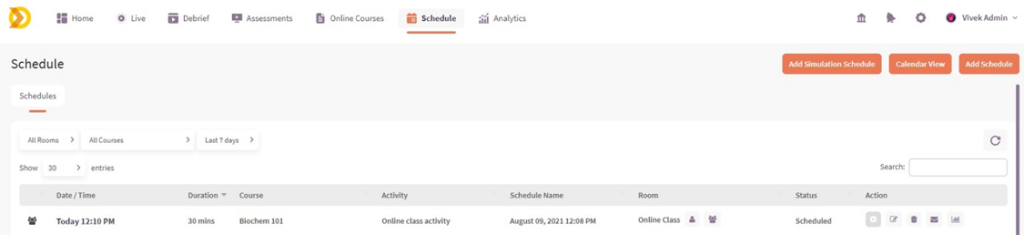
Click Schedule, click the Copy Host or Copy Participant link icon in the Room column, and then paste the link in the browser to join an Online Course.
Refresh Meeting & Send Email to all users scheduled for an Online Class

Click Schedule, click the Edit icon in the Action column, and then click the Refresh Meeting & Send Email icon in the Action column.
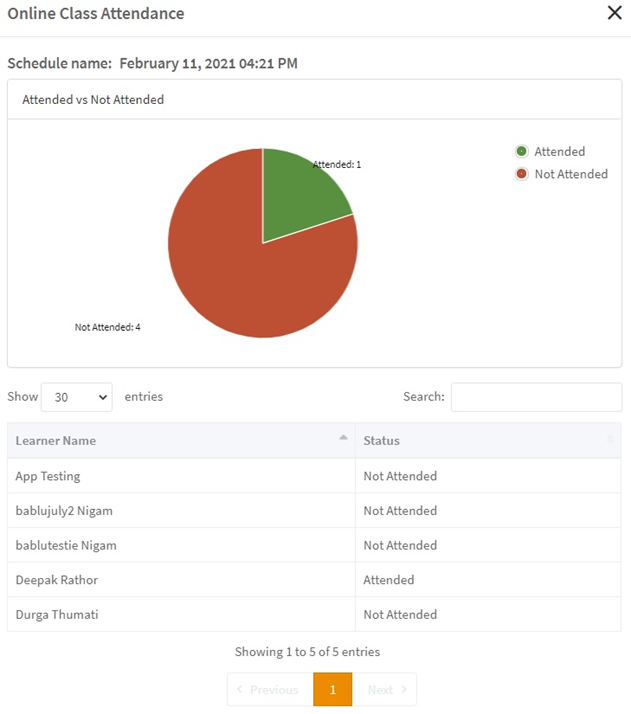
View Online Course Attendance

Click Schedule and then click the Show Schedule Attendance for Online Class icon in the Action column to view learner Online Class attendance.
Creating Didactic Content (Administrator & Faculty only)
All Courses (Administrator only)

Click Didactic Content to viewall Courses. Note: The Administrator sees all Didactic Content; Faculty members only see the Didactic Content they have created/been assigned to.
Public
The Administrator can mark any Course as Public to display to All, to all Faculty, or to all Learners.
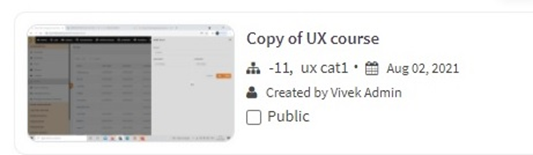
- Click Didactic Content > All Courses and then click the Public checkbox to mark the Course as Public.
Add New Online Course
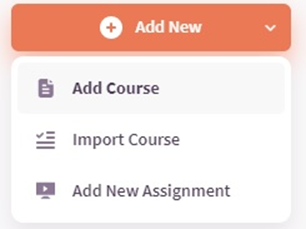
Administrator: Click Didactic Content > Add New > Add Course to create an online course.
Faculty: Click Didactic Content > Add New > Add Course to create or contribute to an online course.
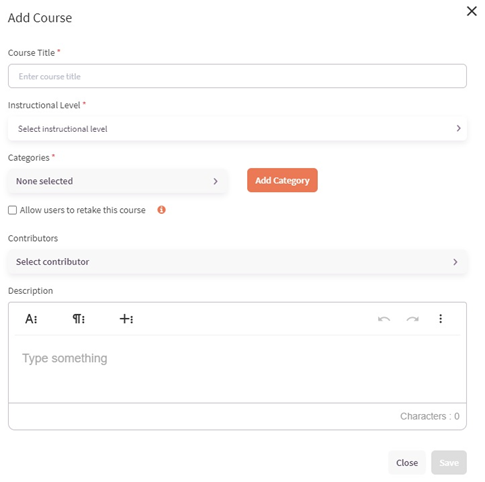
- Add the Course Title and Instructional Level: Beginner, Intermediate, or Expert.
- Add or select a Category (you can select multiple categories) to further define your online course and to make it easier to search for.
- Click Allow users to retake this course (optional). Option becomes available on the Learner Dashboard once online course is completed.
- Add faculty members as Contributors (you can select multiple contributors) in creating the online course.
- Add a Description of the online course.
- Click Save.
Course Details
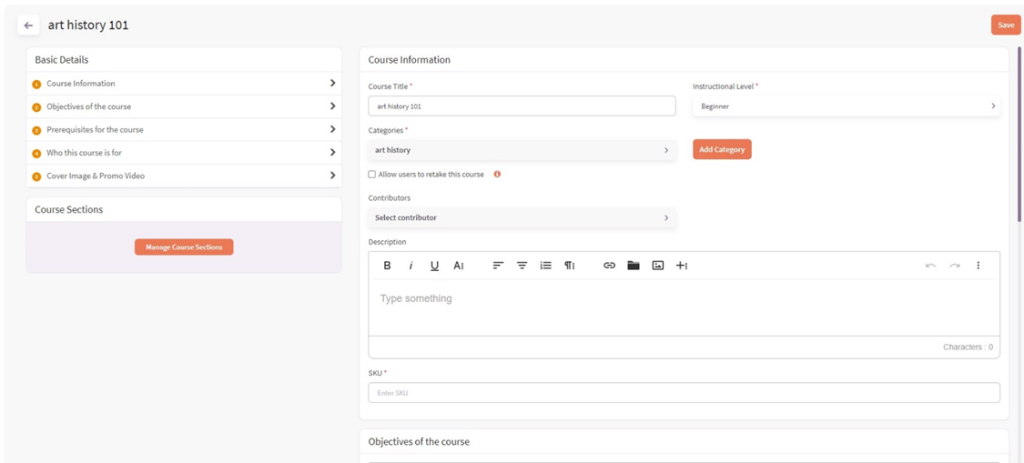
Click the links under Basic Details to add the following:
- Course information
- Objectives of the course
- Prerequisites for the course
- Who this course is for
- Cover image and promo video: to appear on the Didactic Content landing page
Add Course Sections
- Click Manage Course Sections to add course content.

2. Click Add Course Section to define the section. Add a Section Title and Section Description.

Note: As you add new sections, click Is Dependent? To make them dependent on completing previous section(s) first before continuing.
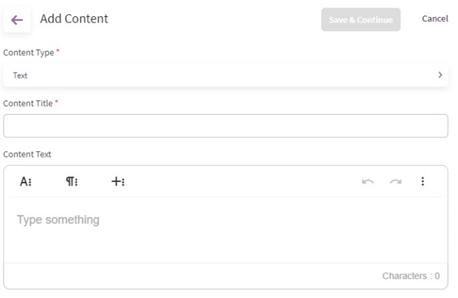
Add Content
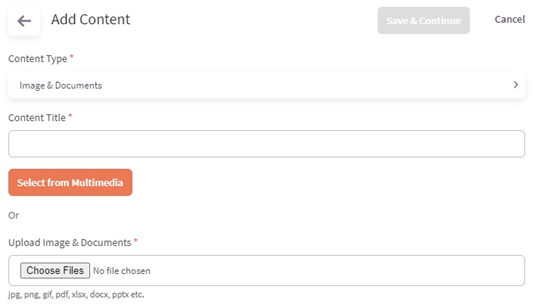
- Click Add Content to add course content for each section:
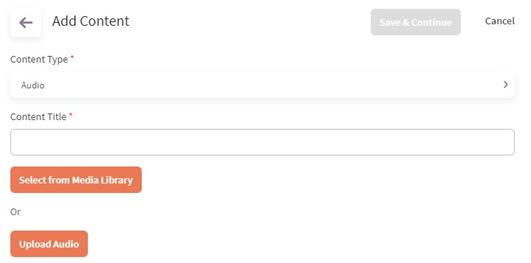
Note: After you upload the Audio file, click the Course Section with the audio file to Post Quiz and/or Survey (optional).
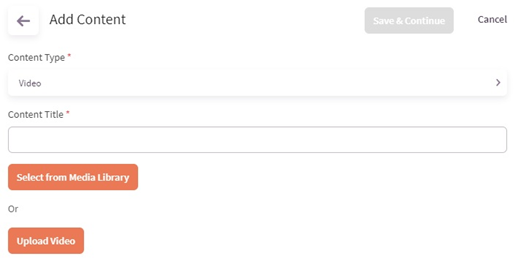
Note:
- After you upload the Video file, click the Course Section with the video file to Post Quiz and/or Survey (optional).

- When selecting existing video from the Media Library, select theoptions to include in-video quiz/survey and/or bookmarks when uploading existing video to Didactic Content.
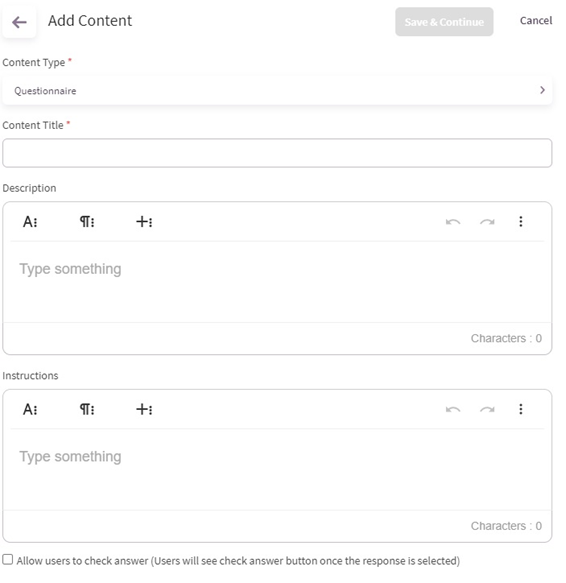
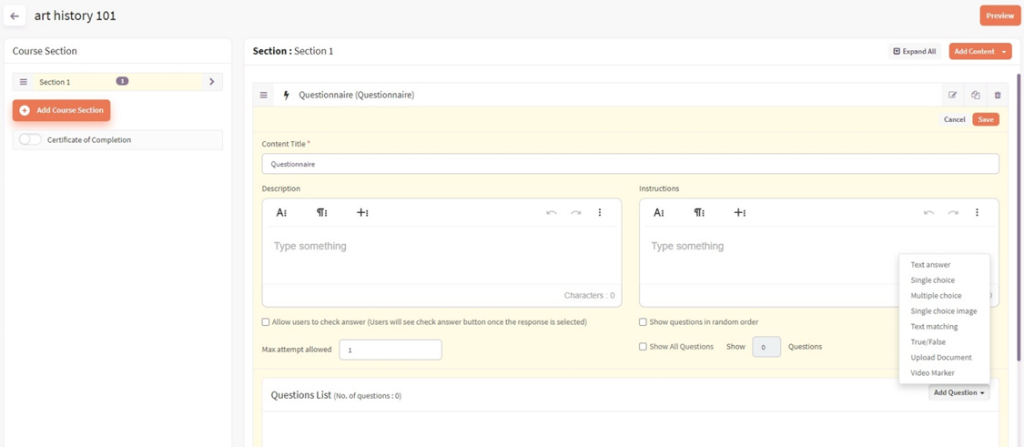
- Click Add Question to add the following question types to the questionnaire:
| Text answer | 1. Add question text, instructions, points, correct answer feedback, and incorrect answer feedback. 2. Indicate if the question is optional. |
| Single choice | 1. Add question text, instructions, points, correct answer feedback, incorrect answer feedback. 2. Click Add New Answer Option and add the answer text. 3. Indicate the correct answer option and if the question is optional. |
| Multiple choice | 1. Add question text, instructions, points, correct answer feedback, incorrect answer feedback. 2. Click Add New Answer Option and add the text for each answer. 3. Indicate the correct answer options and if the question is optional. |
| Single choice image | 1. Add question text, instructions, points, correct answer feedback, incorrect answer feedback. 2. Click Add New Answer Option and then click on the option to add an image. 3. Indicate the correct answer option and if the question is optional. |
| Text matching | 1. Add question text, instructions, points, correct answer feedback, incorrect answer feedback. 2. Click Add New Answer Option and then add the term and matching answer. 3. Indicate if the question is optional. |
| True/False | 1. Add question text, instructions, points, correct answer feedback, incorrect answer feedback. 2. Click Add New Answer Option and add the text for each answer. 3. Indicate the correct answer options and if the question is optional. |
| Upload Document | Enable Learners to upload content for the question by selecting from Multimedia or Upload Documents: Add question text, instructions, and points. Indicate if the question is optional. |
| Video Marker | Enables learners to identify particular points within a video. 1. Add question text, instructions, correct answer feedback, and incorrect answer feedback. 2. Select from Multimedia or Upload Video. For time-based markers, learners will select from a pre-defined list of markers. For non-time-based markers, learners can add any number of markers to the video. 3. Add the Error Margin (in seconds) and the Maximum Number of Markers. 4. Play the video and then click Add Marker to define specific points in the video. 5. Select an existing marker or click Add New Marker, enter the marker name and abbreviation and then click the checkmark to save. 6. IMPORTANT! Click Play again and then click Add Marker to add more. Points accrue as you add markers. Indicate if the question is optional. |
2. Click/unclick the checkbox to Allow users to check answers to enable learners to check answers after a response is selected.
Questionnaire options
- Allow users to check answers (Check Answer button appears after the response is selected)
- Maximum attempts: Add the number of times users can check answers
- Show questions in random order: display questions to all learners in different order
- Show all questions or add the number of questions to display to users

Enables Learners to upload content by selecting from Multimedia or Upload Documents.
Branching Question
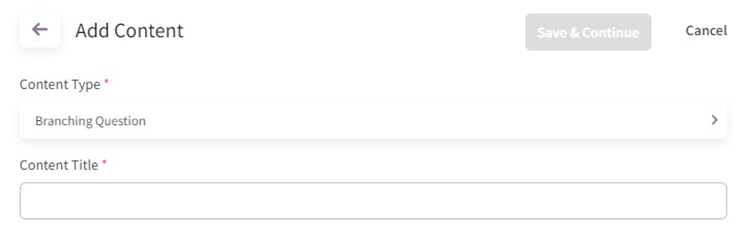
Define specific sections and content the user should proceed to based on a certain response.
SCORM
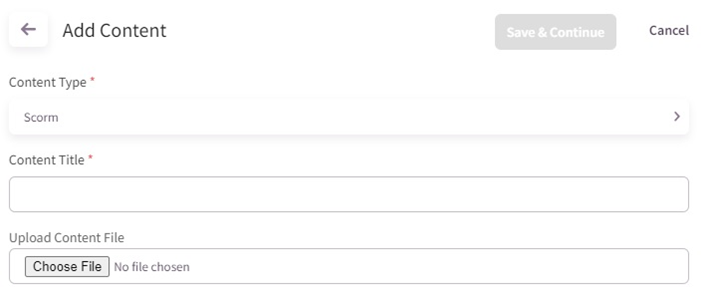
Add SCORM content to new and existing courses.
Manage Course Sections
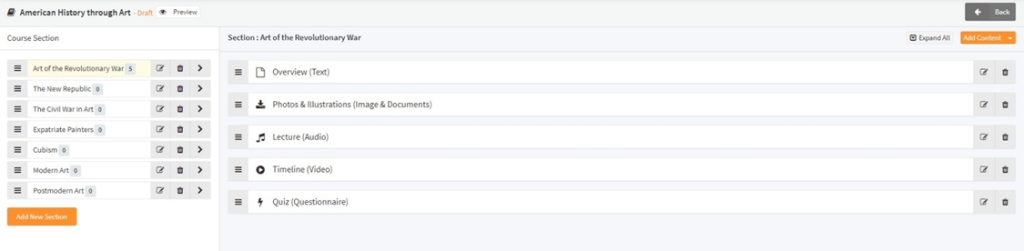
As you add content to each course section, use the following features to format your online course:
Click Preview to view all Course Content in preview mode, download and save, and print content.
Course Sections

Section Content

Branching Option
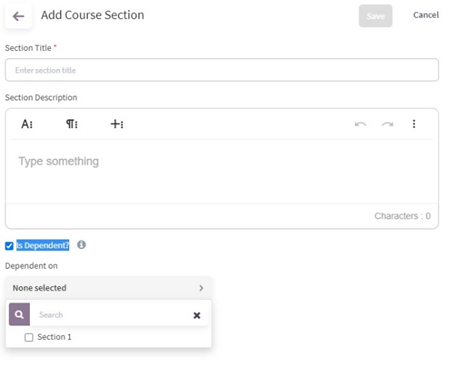
Click the Is Dependent checkbox to define the course section(s) the user is required to complete before completing the current section.
Courses (Administrator & Faculty only)

Click Courses and then select a Course to view the following:
- Course Content
- Learners associated with the Course
- Percentage of course content completed
- Learners who have received a Certificate of Completion
Didactic Content (Administrator & Faculty only)
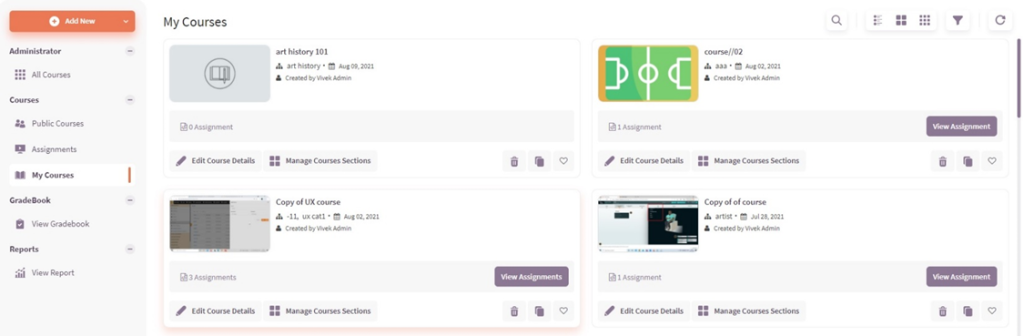
Online Course favorites
Click Didactic Content > My Courses to mark an Online Course as a favorite.
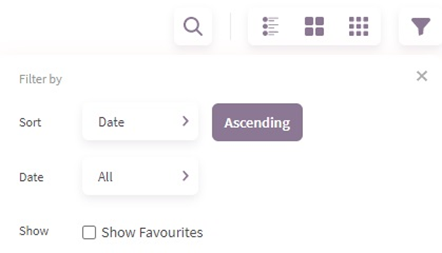
Click the Filter icon at the top and then click the Show Favorites checkbox to show favorites.
Creating Assignments (Administrator & Faculty only)
To add Assignments to Didactic Content, click Didactic Content > Add New > Add New Assignment.
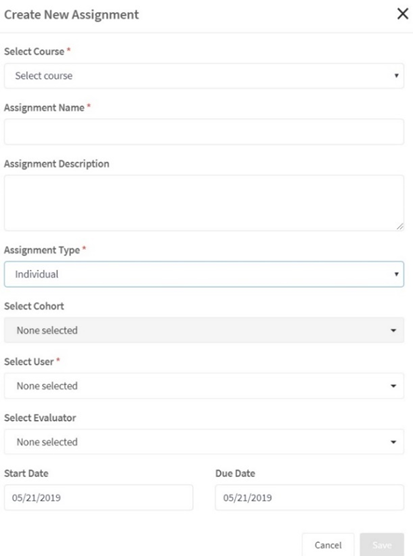
- Select the Course and then add the Assignment Name.
If Online Course Certification is enabled, click Add Certification in this assignment to enable a Certificate of Completion. See Online Course Certification for more information.
2. Select whether this is an Individual or a Team assignment:
- Individual: Select a Cohort or select individual users (includes active and pending) you are creating the assignment for. Note: Includes active and pending users. When pending users activate their account, the assignment appears.
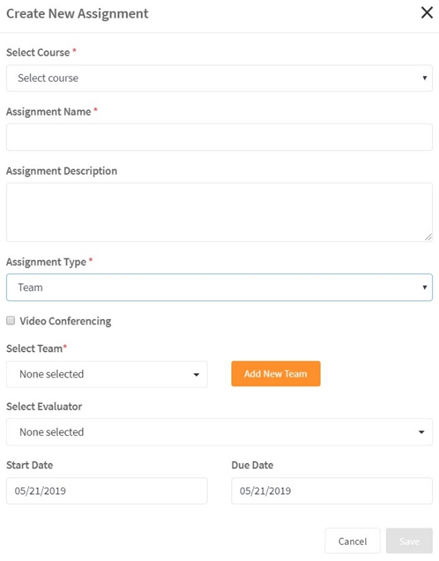
- Team:
- Click Add New Team (or select existing) to create a Team of Learners (select a Cohort or select individual users) who will complete the assignment as a group.
- Select a Role for each user. Note: Roles are created in Settings > Didactic Content > Roles.
- Click the Video Conferencing checkbox to enable the team to complete the assignment via video conference.
- Click Allow users to retake this course (optional). Option becomes available on the Learner Dashboard once online course is completed.
- Add faculty members as Evaluators (you can select multiple evaluators) for the assignment (optional).
- Add the Start Date the assignment will be available to learners and the Due Date.
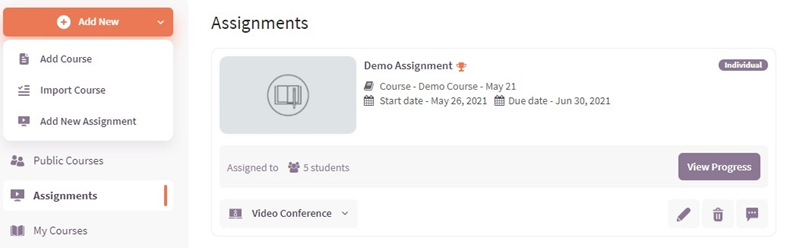
- Click Save. The Assignment appears on Didactic Content > Assignments for Learners and Evaluators (if selected).
Video Conferencing Requirements
- You must obtain a Video Conference license. Contact EMS for more information.
- Your web server must have access to the Internet for video conferencing.
- Computers must have Internet access to start a video conference.
- Computers must have a web cam and a microphone enabled.
Email Learners
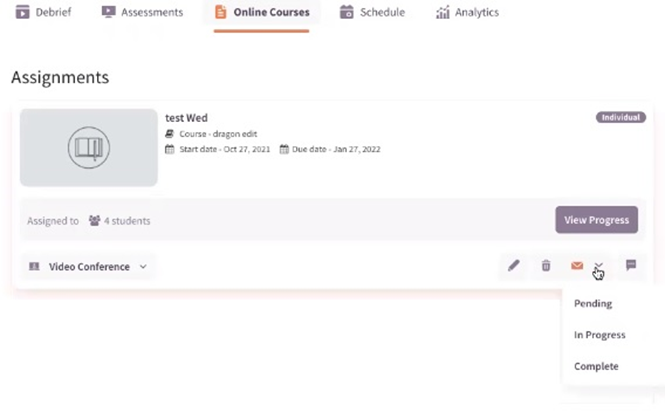
Click Didactic Content > Assignments and then click the email icon to email Learners in Pending, In Progress, or Complete status.
Email Templates
Save email templates when sending email to individual learners or a group.
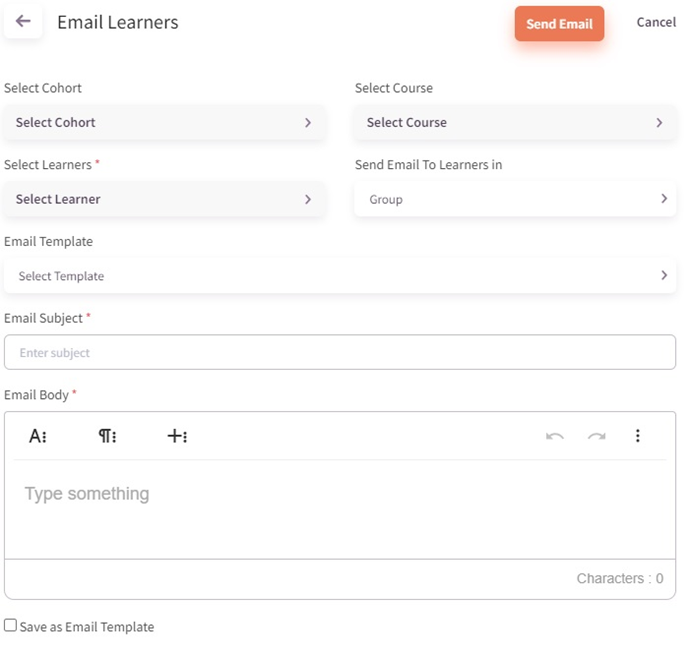
- Click the Save as Email Template checkbox.
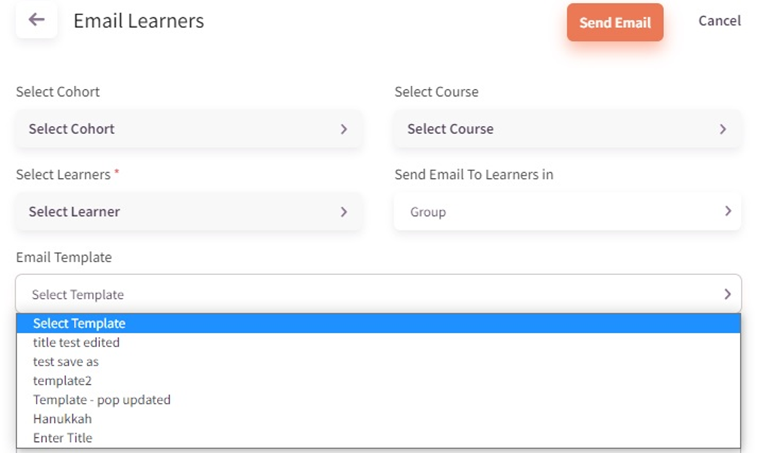
2. Select the saved email template from the drop-down list the next time you send the email.
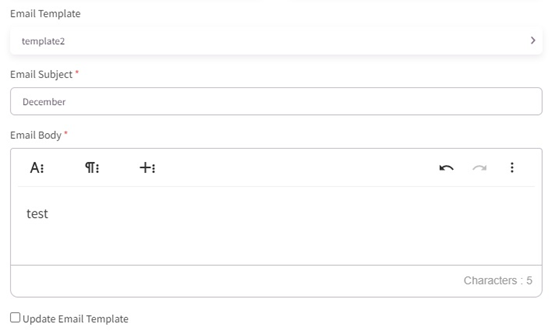
3. Click Update Email Template to save any changes made to the template.
View Progress – Faculty

Click Didactic Content > Assignments to:

Complete Evaluation – Faculty
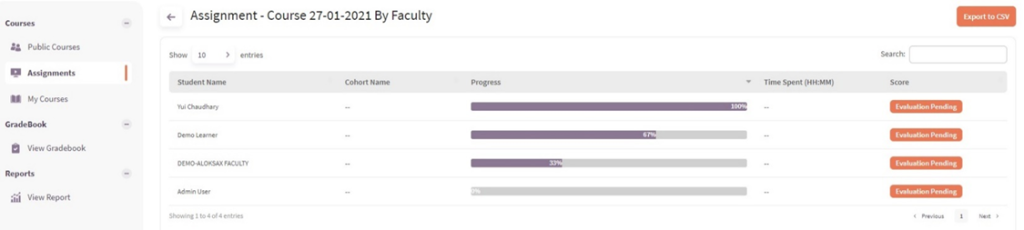
Click Didactic Content > Assignments > View Progress > Evaluation Pending to complete learner evaluations for assignments.

2. Complete the following for each content area:

Completing Assignments (Learner)

- Click Didactic Content > Assignments > Active Assignments.
- Click the Assignment Name to review the course Overview and Content.
- Click Start Course or Continue to complete assignments.
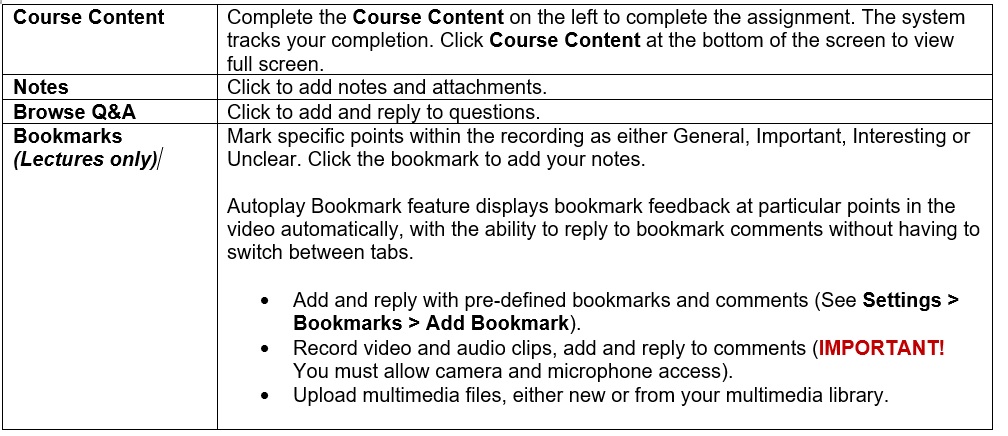

To mark bookmarks as private, click the lock icon. Private bookmarks can also be made public.
Note:
- Old bookmarks will be marked as Public – only newly created bookmarks can be marked as private.
- Bookmark search results will only display public bookmarks and private bookmarks for the logged in user.
Click Transcripts to view a transcript (where available).
Email Summary
To email Online Course Assignment Summary (Administrator & Faculty only). Click Didactic Content > Assignments > View Progress > View OR Evaluation Pending > Email Summary. Administrator and Faculty will receive an Evaluation Summary email.
Upload Document Content
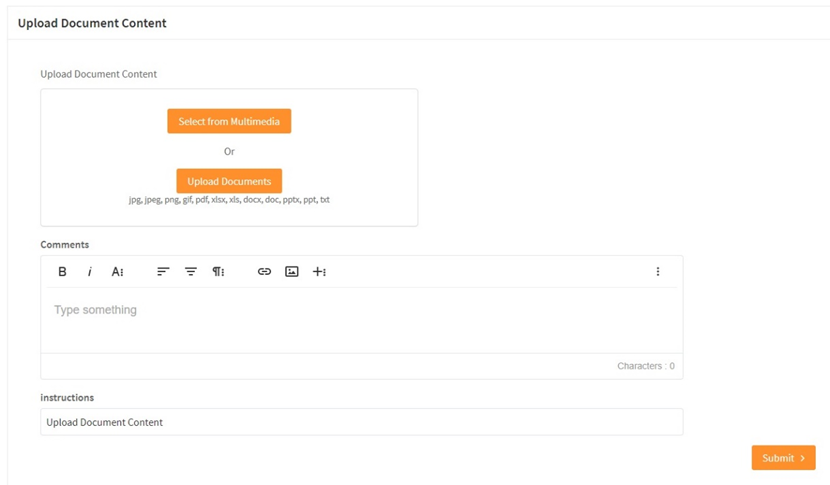
To upload document content, click:
- Select from Multimedia to add files from your Multimedia Library
Note: Click Settings > Video Management > Multimedia to add files to your Multimedia Library
OR
- Click Upload Documents. Note: File types are: jpg, jpeg, png, gif, pdf, xlsx, xls, docx, doc, pptx, ppt, txt.
Video Marker
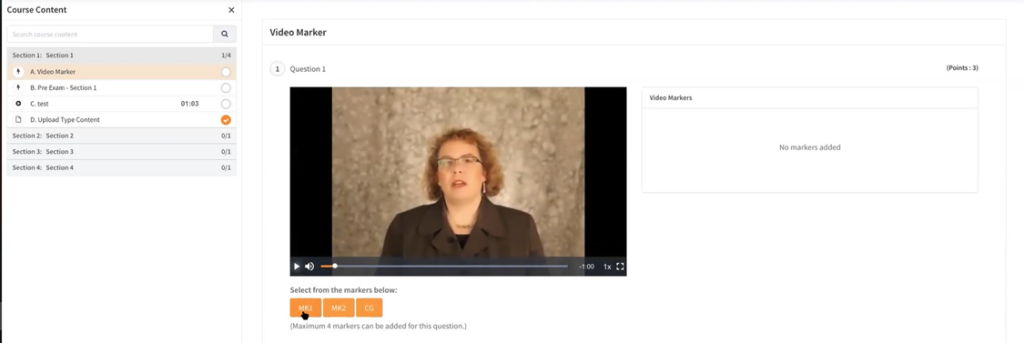
Use video markers to identify particular points within a video.
- For time-based markers, learners will select from a pre-defined list of markers.
- For non-time-based markers, learners can add any number of markers to the video.
Check Answer
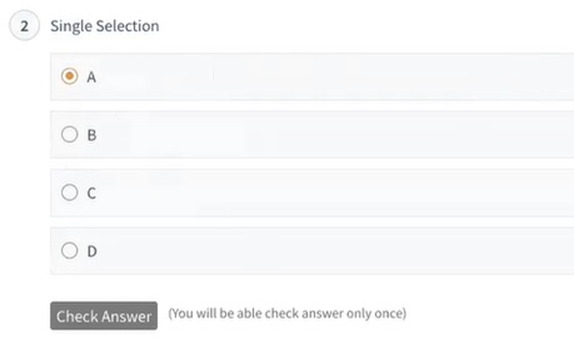
- Click Check Answer after a response is selected to review your answer and correct/incorrect answer feedback provided by Faculty (if available).
View Scores

- Click View Score to review the point values assigned for each question.
Administrator & Faculty: Click Didactic Content > Assignments > View Progress > View
Learner: Click Didactic Content > Active Assignments > select Assignment > View Score
Gradebook

Reports (Administrator & Faculty only)
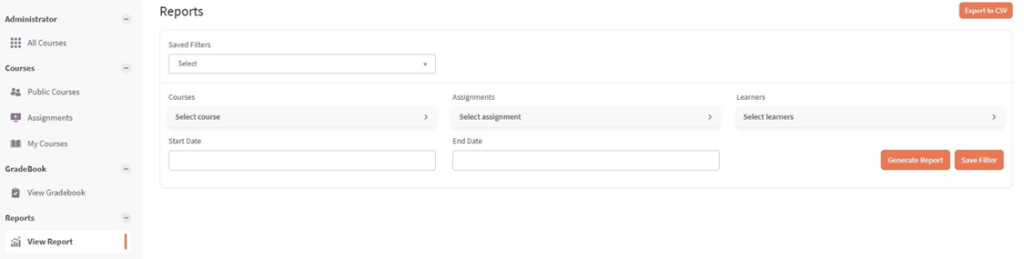
Click Assessments > Reports > View Report to generate Assignment and Assessment Reports, view details, and export data to Excel.
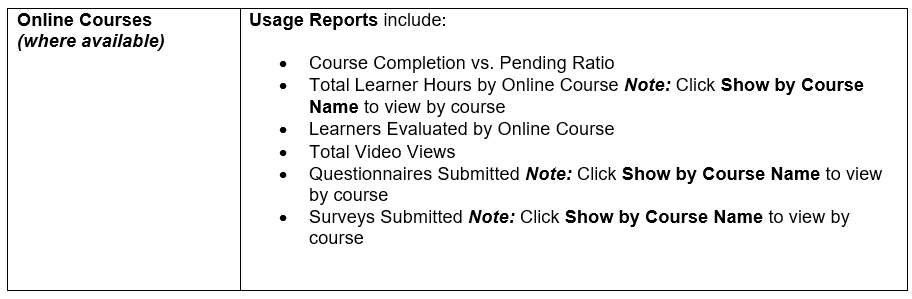
Analytics (Administrator & Faculty only)
Online Course Certification (where enabled) – Administrator & Faculty only
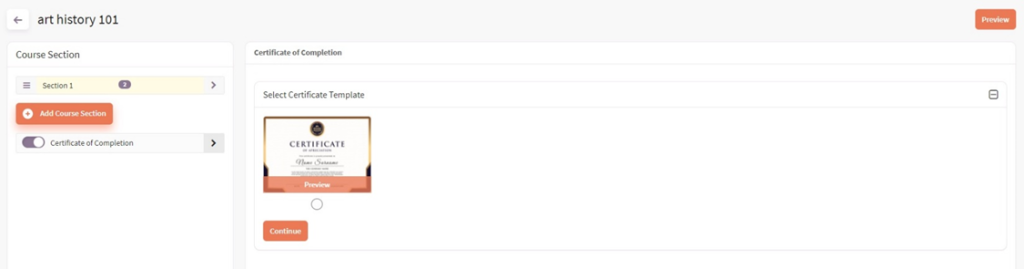
- Click Didactic Content > Add Course or My Courses > Manage Course Sections to enable a Certificate of Completion.
- Click the Certificate of Completion field and select the template. Click Preview to view the file.
Add Details
- Add the Course Name, Course Author Name, and then select and upload the Course Author Signature and Institute Log
- Click Save.
Certification Rules
- Click the checkbox to add the following rules:
- Course Video Content is fully watched
- Passing grade for assessments (add passing grade)
- Click Save.
Certification Settings
- Click the checkbox if Recertification is Required.
- Click Save.