Log in to Moodle as an Administrator
1. Click Site Administration > Plugins > Web services > Overview and follow the steps in Users as clients with token:
a. Enable web services = Yes
b. Enable protocols = REST protocol
c. Select a Service > Custom services > Add
d. Create a custom service called MEDIASHAREiQ
Name = MEDIASHAREiQ
Short name = MEDIASHAREiQ
Enabled = ON
Save Change
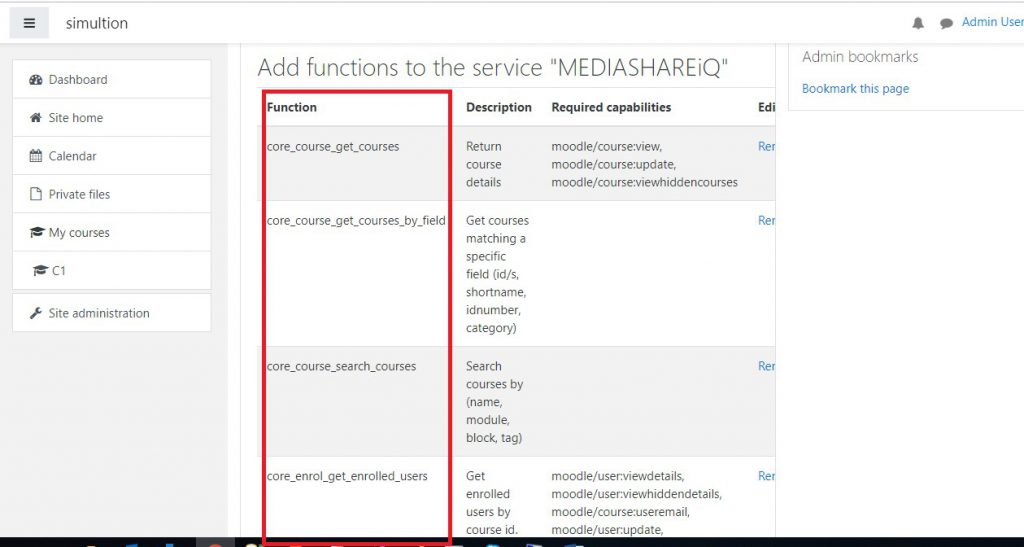
e. Click Functions
Add the following functions to this service:
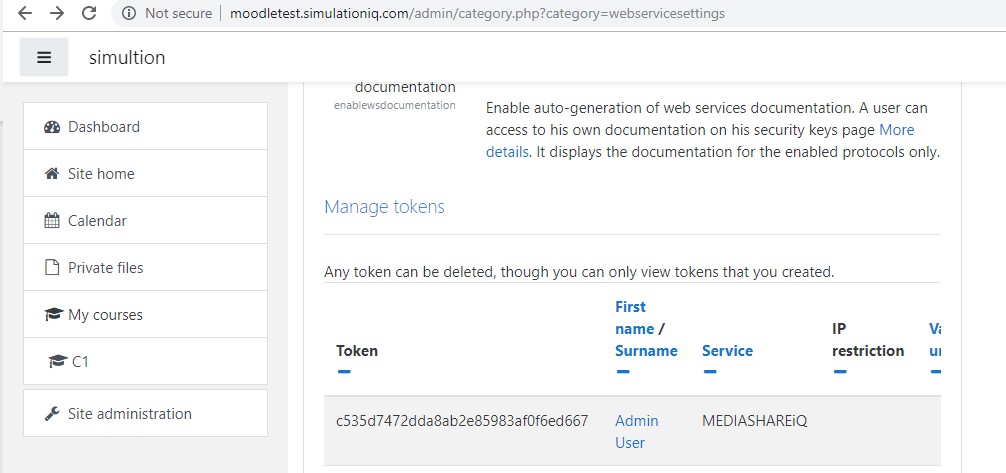
f. Manage Tokens > Add
Create a token under this service and send back to EMS, we will put this into database
User = Admin user
Service = MEDIASHAREiQ
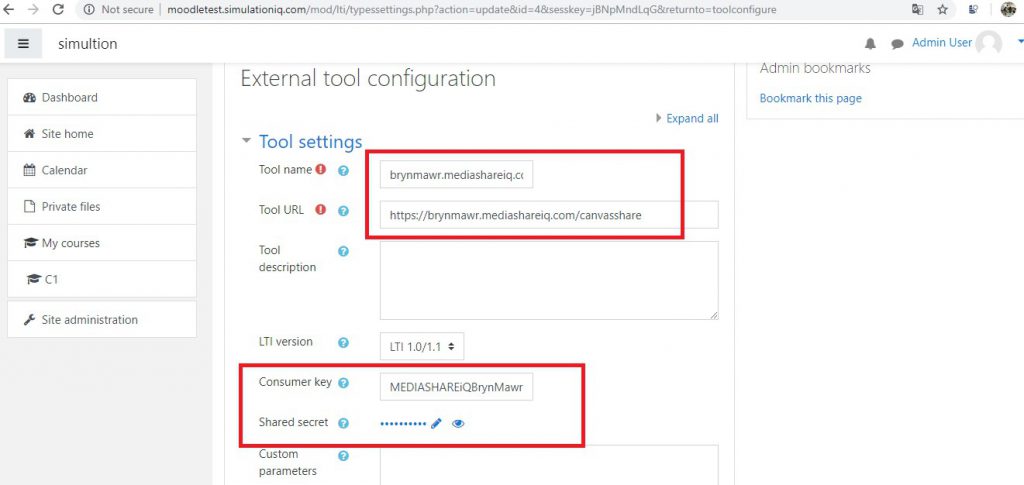
Configure MEDIASHAREiQ in Moodle
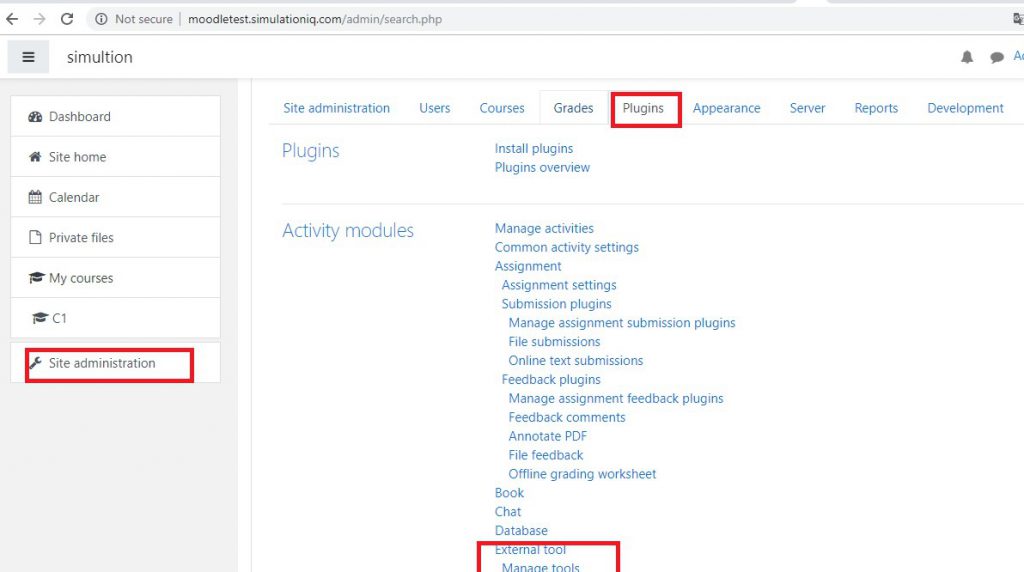
- Click Site Administration > Plugins > External tool > Manage tools, click the Configure a tool manually link.
2. Complete the following fields:
a. Click Manage Tools > Configure a tool manually.
b. Tool name: MEDIASHAREiQ
c. Tool URL: https:// brynmawr.mediashareiq.com/canvashare
d. Consumer key: Create a key. This key will need to be configured within MEDIASHAREiQ in later steps.
e. Shared secret: Create a share secret. This key will need to be configured within MEDIASHAREiQ in later steps.
f. Tool configuration usage: Select “show as preconfigured tool when adding an external tool”
g. Default launch container: New window (please chose one of the values based on your preference)
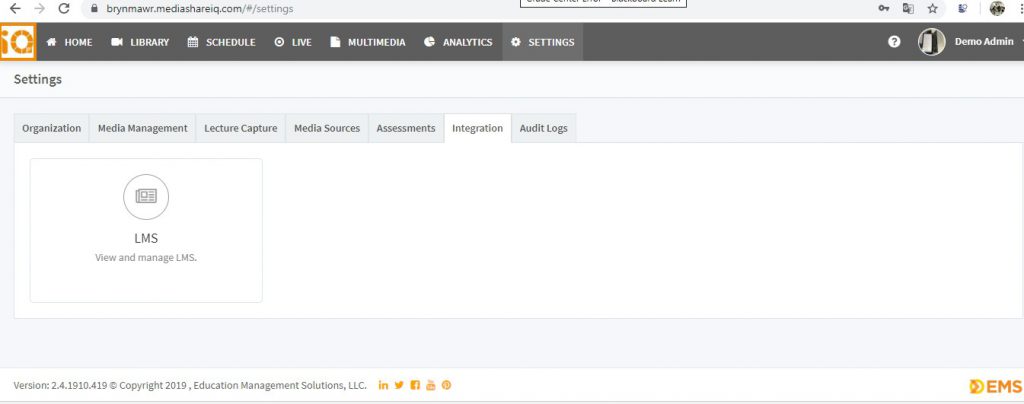
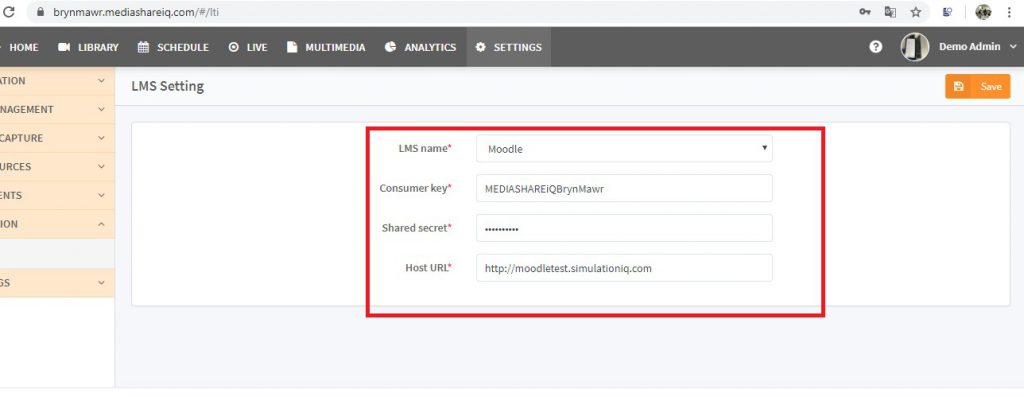
Go to the MEDIASHAREiQ site
- Click Settings > Integration > LMS and then complete the fields. Note: Consumer Key and Shared Secret should match the fields in Moodle.
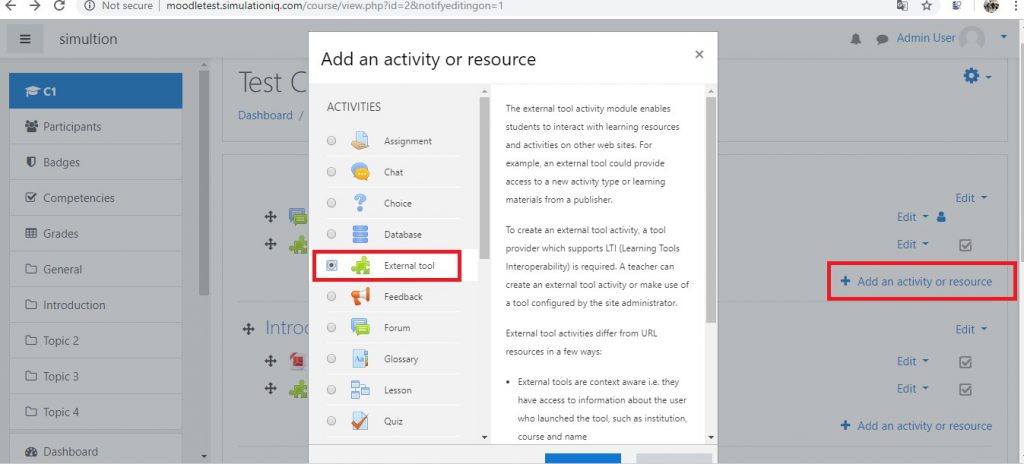
Add MEDIASHAREiQ to courses
- Complete the following fields:
a. Select Course >Turn editing ON > Add an activity of resource
b. Select External tool >Add
c. Activity name = MEDIASHAREiQ
d. Preconfigured tool = MEDIASHAREiQ
e. Save and return to course